
Spelt Bread Recipe with a Tender Crumb
Cook along on the interactive map
Instructions 👩🍳
Step-by-step:
- Prepare the spelt dough: Combine the spelt flour with yeast, water, salt and the remaining ingredients into a soft dough. Use the illustrated recipe for the exact quantities, timings and cooking settings.
- Develop the dough gently: Knead or fold only as much as needed so the dough gains structure without becoming overworked.
- Let the dough rise: Cover and allow the dough to become airy and visibly expanded.
- Shape and proof: Form the loaf gently, transfer it to the prepared baking surface and let it rise again.
- Bake and cool: Bake until the crust is golden and the loaf is fully set, then cool before slicing.
Spelt Bread with a Mild Nutty Flavor

A slice of spelt bread with a fruity spread makes a quiet breakfast feel special. Its mild, nutty flavor works just as well beside soup or under a savory topping. Bake a loaf, let it cool, and enjoy the first slice without piling too much on top.
A simple dough, gently handled
Spelt flour, yeast, water and salt form the base. Prepare the yeast according to its package instructions, then combine it with the flour, salt and water to make a soft, cohesive dough. Scrape the bowl so no dry flour pockets remain.
Knead gently, stopping once the dough holds together and has developed some elasticity. If using a mixer, watch the texture rather than leaving it running. Spelt dough can lose strength with excessive kneading; aim for a workable dough rather than a tight, highly stretched ball.
Cover and let it rise until noticeably expanded and airy. Keep the surface from drying out. Judge the change in the dough instead of relying on a fixed waiting time.
Choose support for the loaf
Release the dough with a scraper onto a lightly floured surface. Fold the edges inward gently and shape a loaf without pulling until the skin tears. Use only enough flour to stop sticking.
A prepared loaf pan supports soft dough through its final rise and baking. For a freestanding loaf, use a properly floured proofing basket for the final rise. A proofing basket must never go into the oven.
Cover the shaped loaf and let it become visibly puffy again. Preheat the oven thoroughly for bread baking. If using parchment, check that it is suitable for the oven setting. Turn a basket-proofed loaf onto its prepared baking surface just before baking.
Bake fully and allow time to cool
Bake until the crust is golden and the center is fully cooked. Release a pan loaf when safe to handle and cool it completely on a rack before slicing. The crumb should be set, without wet, raw patches. Return underbaked bread to the oven.
Do not taste raw dough. Clean hands, tools and surfaces after handling flour, and keep flour and dough away from ready-to-eat toppings.
A bright breakfast topping
Our homemade apricot jam with lemon adds fruity sweetness to the mild spelt. Spread it on a plain or lightly toasted slice; butter underneath is optional. Bring out a small dish of jam and keep the remaining chilled batch in the refrigerator.
Cut without squashing
Use a serrated bread knife on the cooled loaf. Gentle sawing strokes cut through the crust more neatly than heavy downward pressure.
Optional seed coating
Lightly moisten the shaped dough with water and sprinkle with sunflower seeds or sesame before baking for a little extra crunch.
Freeze breakfast portions
Freeze cooled slices with parchment between them if needed. Unwrap individual portions before toasting and add toppings afterward.
Frequently asked questions
Do I need a proofing basket?
No. A suitable loaf pan can support both the last rise and the bake.
Why does the dough tear?
Strong pulling or excessive kneading can weaken it. Handle gently and use a scraper to release sticky areas.
How should I store the bread?
Let plain bread cool fully before wrapping; freeze for longer storage. Keep perishable toppings separately refrigerated and add them just before eating.
Best Bread Recipes to Try at Home
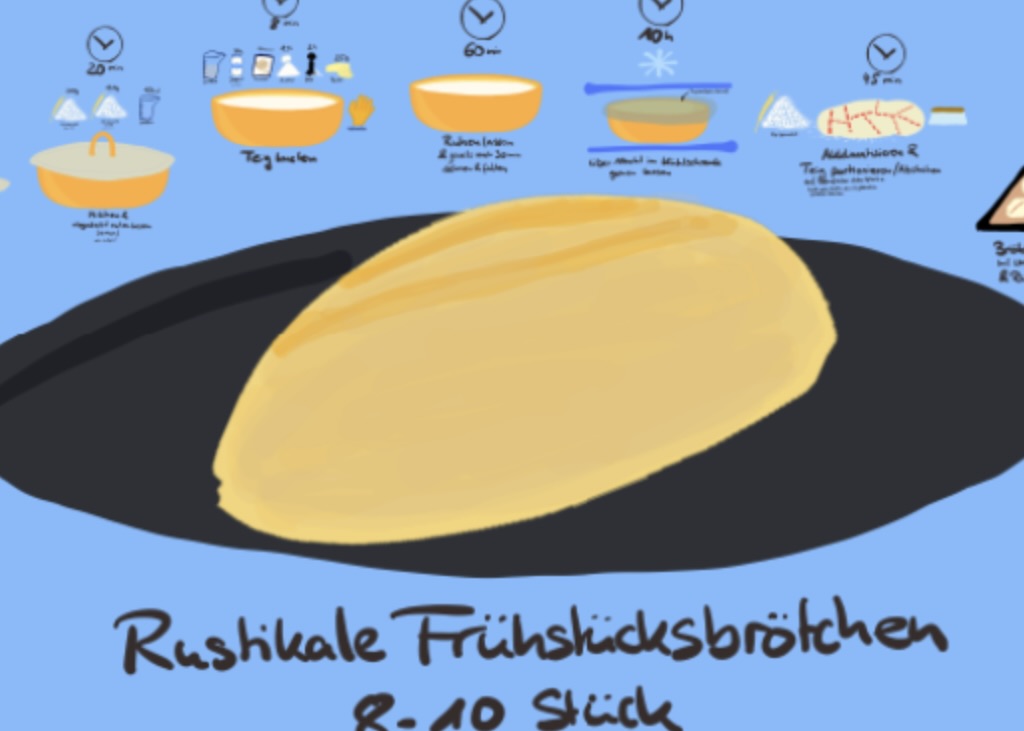
Rustic Breakfast Rolls
Make rustic breakfast rolls with a crisp crust and soft center. Get practical guidance on kneading, the final rise, cooling, and breakfast pairings.
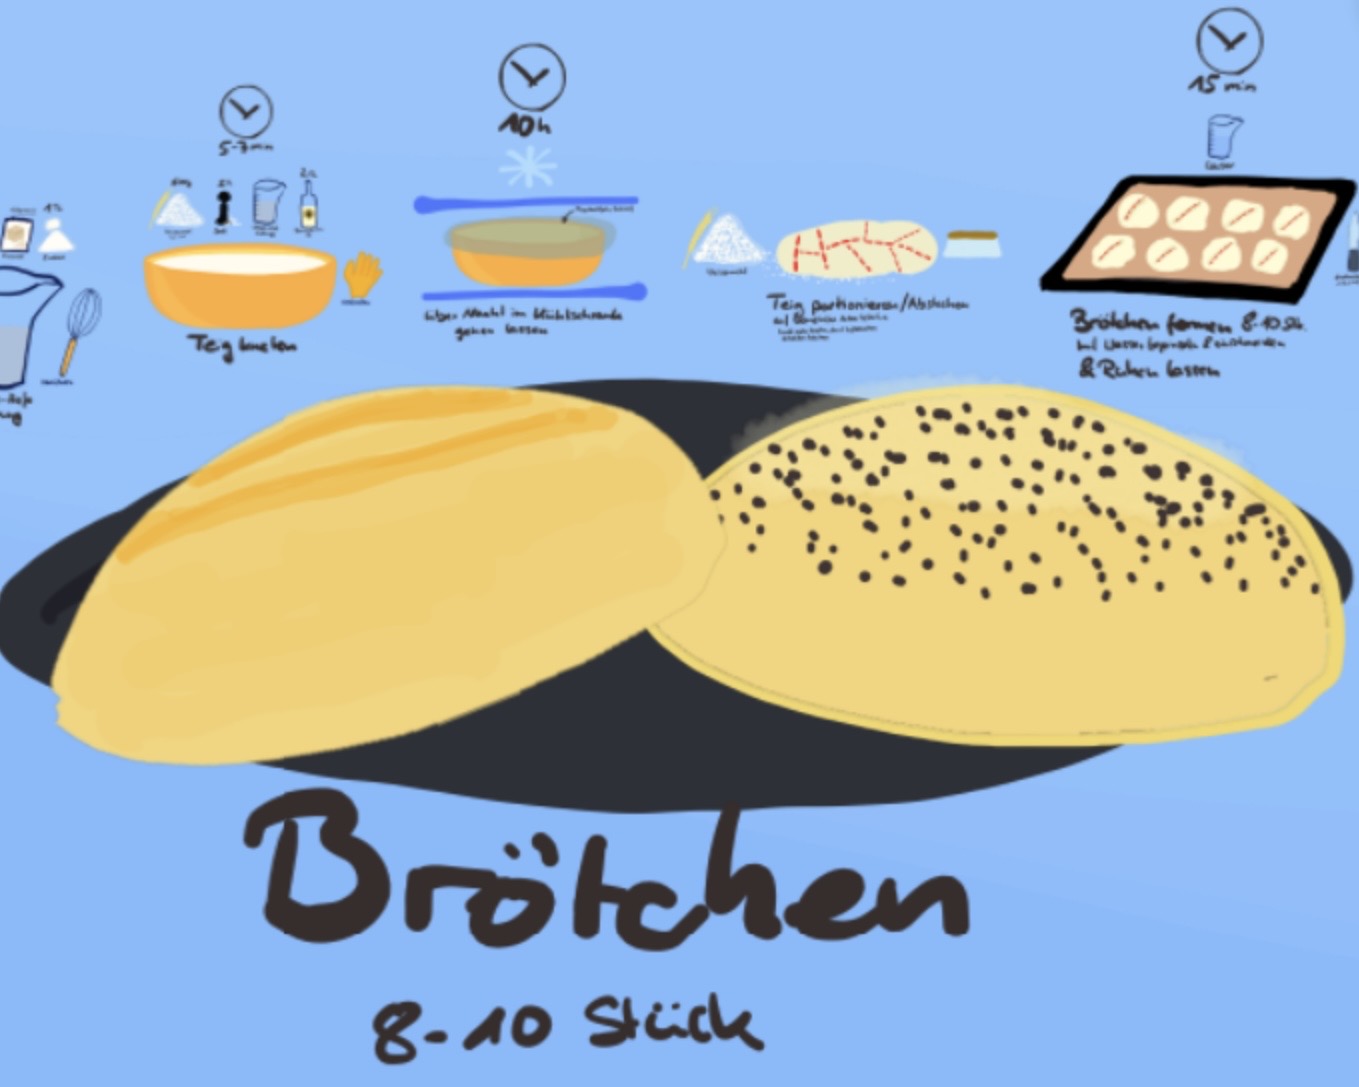
Rolls
Bake golden bread rolls with yeast and sunflower oil. Find practical tips for soft dough, gentle shaping and serving them warm with sweet or savory toppings.
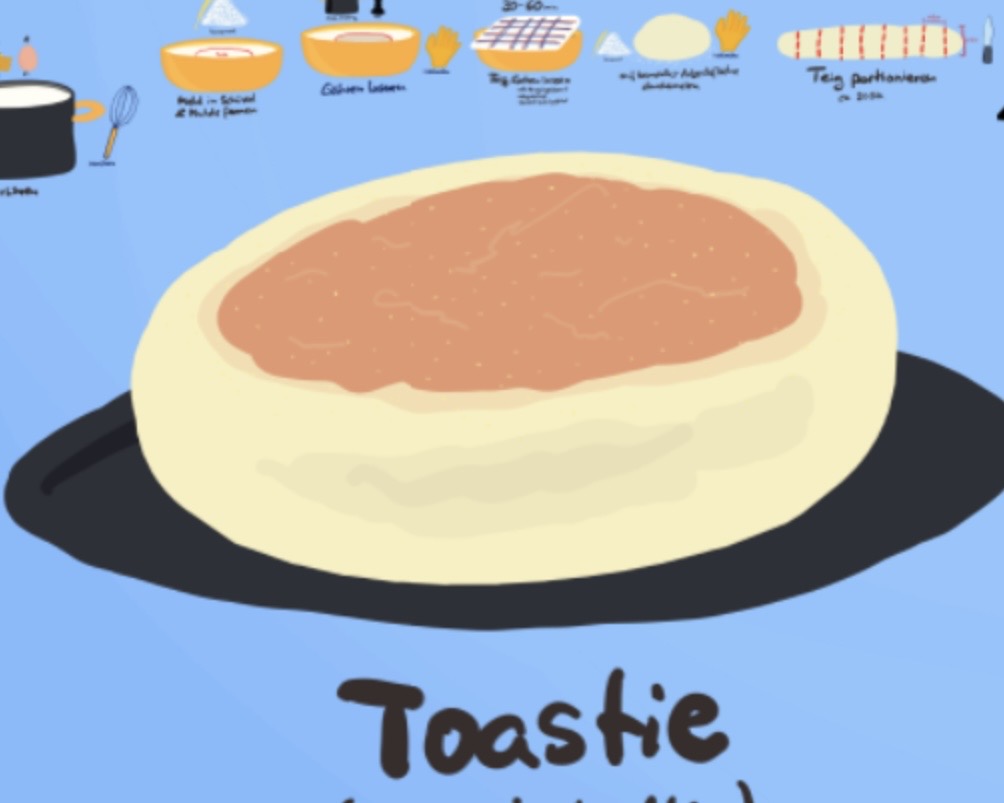
English Muffins
Make soft English muffins with milk, butter, egg and honey. Find gentle pan-cooking advice, fork-splitting tips and sweet or savory ideas for toasted halves.
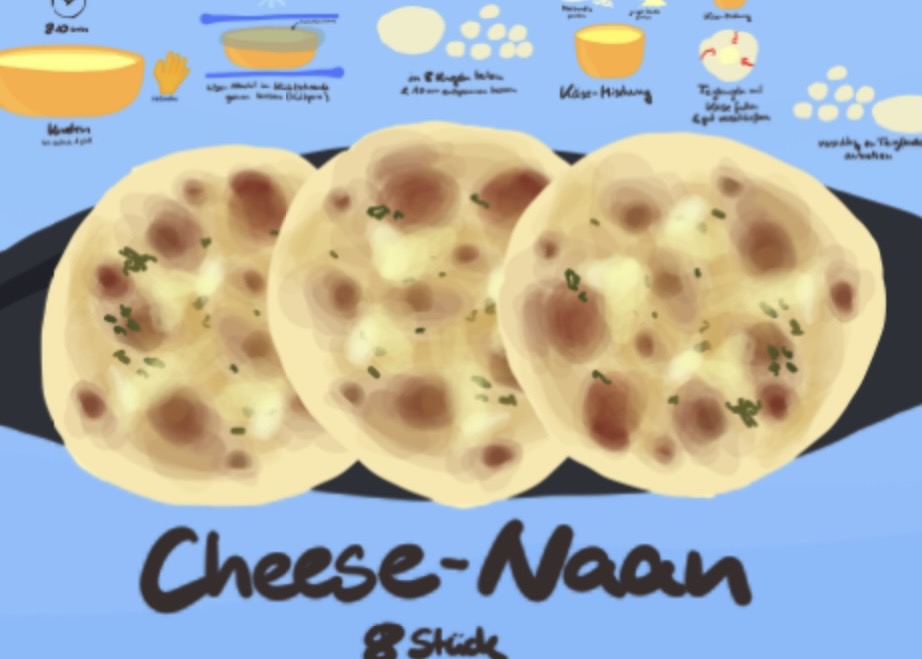
Cheese Naan
Soft naan encloses mozzarella and young Gouda. Learn how to manage cheese moisture, seal the dough, and cook the center without burning the outside.
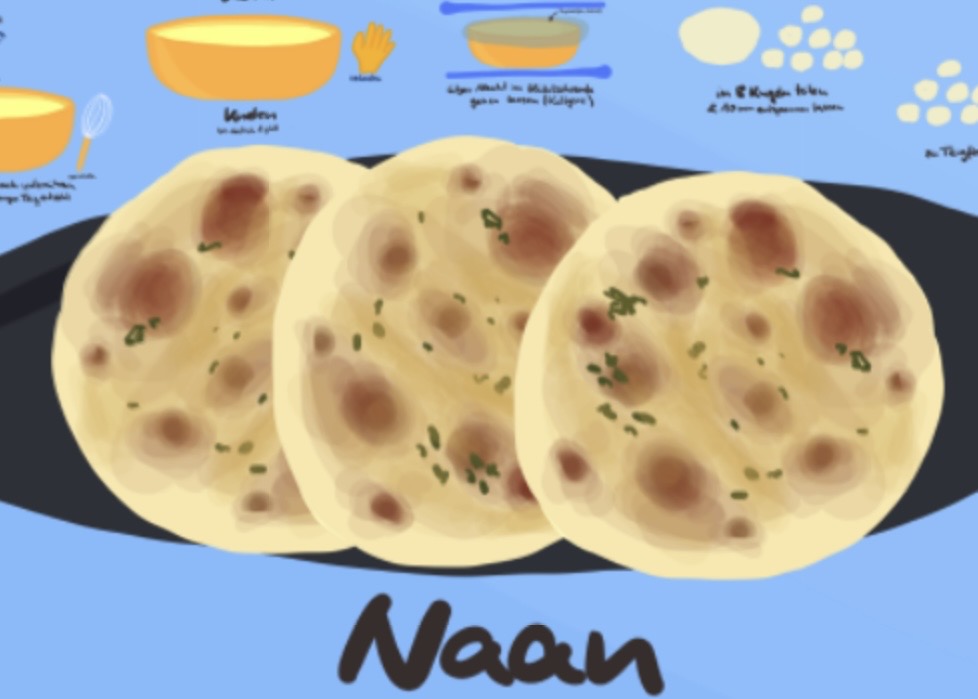
Indian Butter Naan Bread
Soft yogurt naan with garlic, cilantro, and a buttery finish. Learn how dough rise, gentle shaping, and controlled pan heat help the bread cook evenly.
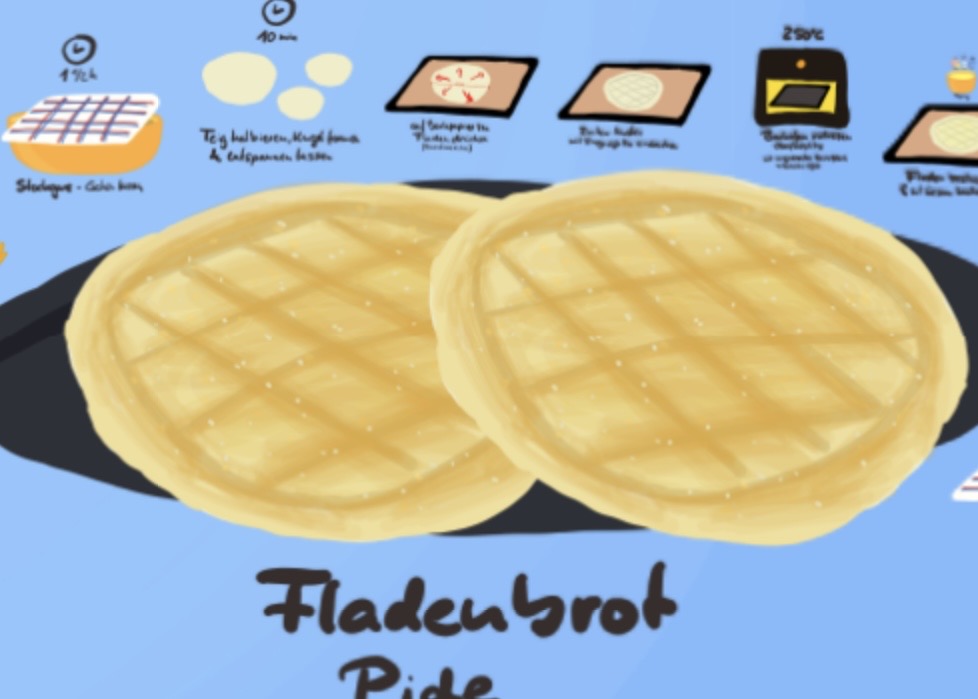
Pide bread
Bake soft pide bread with a golden sesame crust. Learn what well-risen dough looks like, how to shape it gently, and why the center needs careful checking.
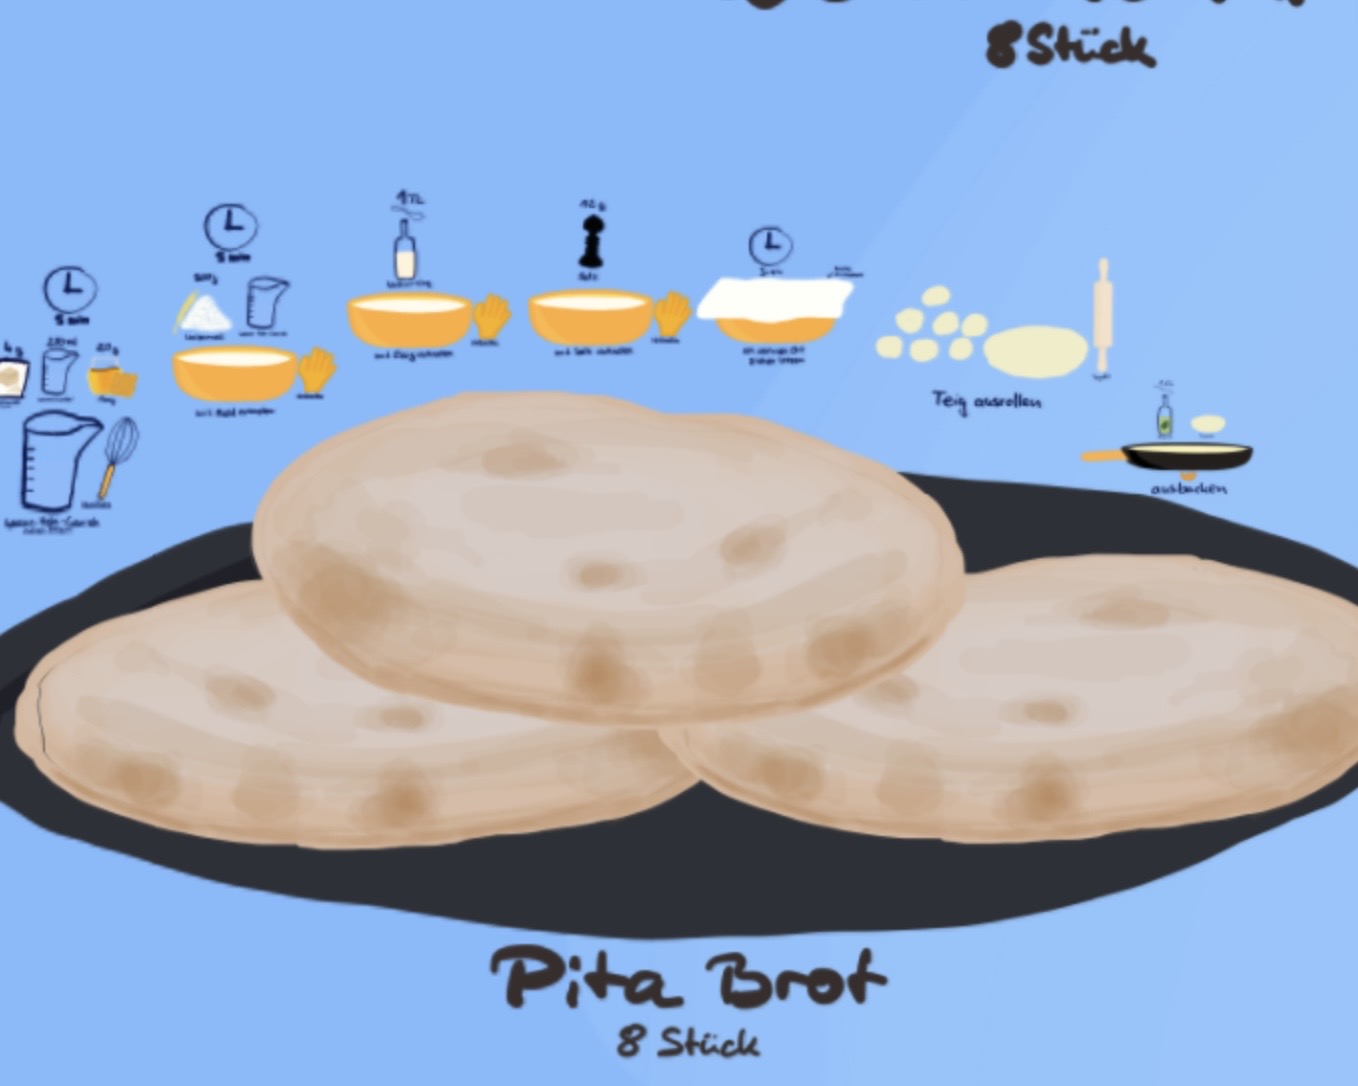
Pita bread
Bake soft pita bread with honey, vinegar and olive oil. Learn how even rolling and a hot baking surface help it puff, then fill it or share it with dips.
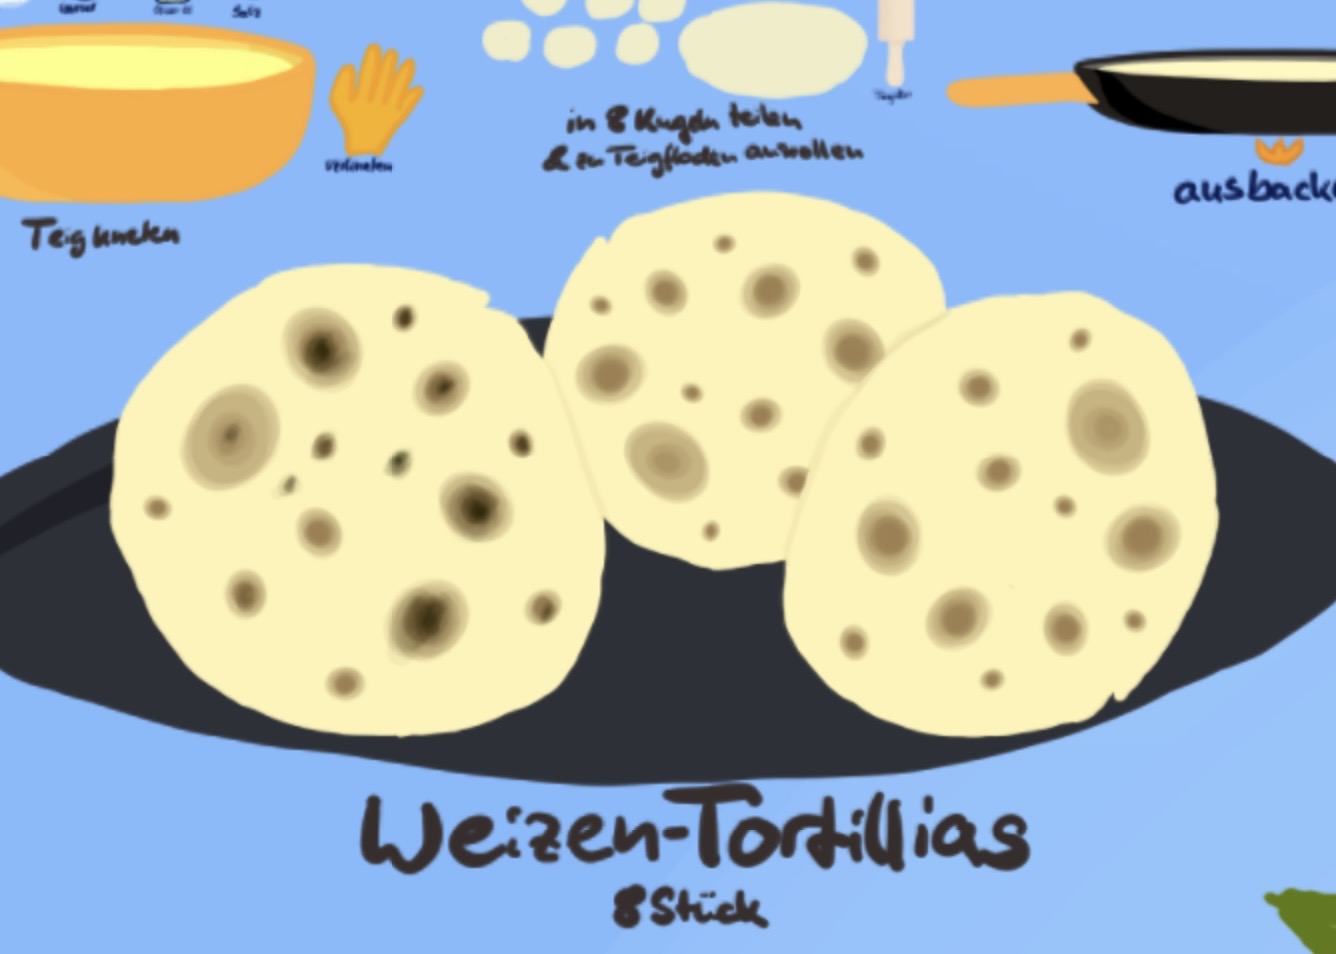
Flour Tortillas
Make soft flour tortillas with olive oil in a dry pan. Find tips for resting, even rolling, brown spots, and filling warm wraps with chicken and guacamole.
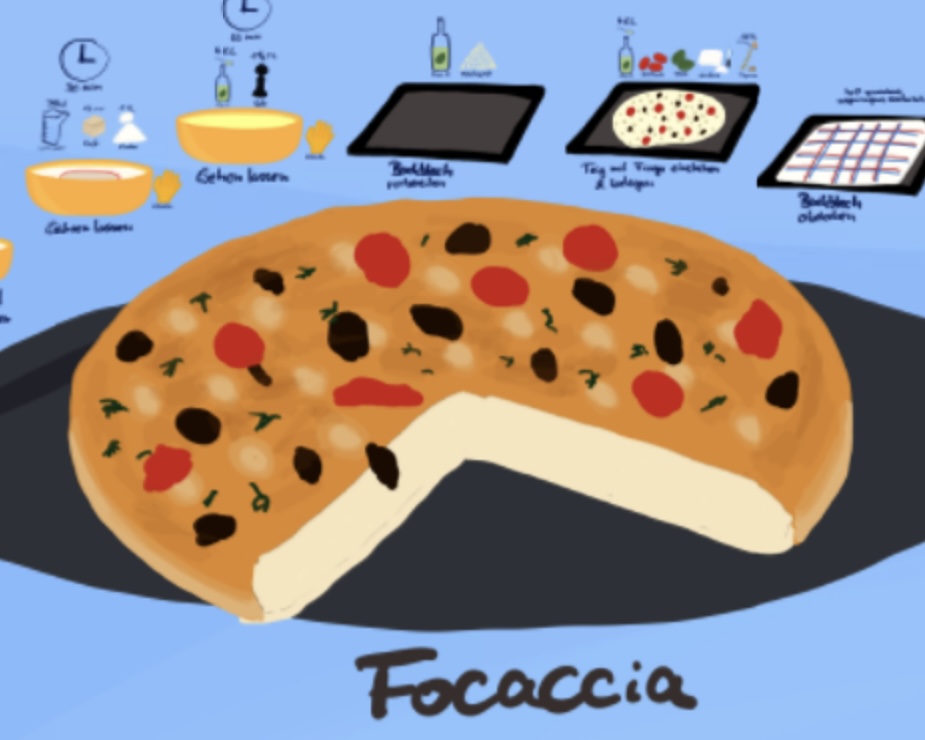
Focaccia
Bake soft focaccia topped with sweet tomatoes, black olives, feta, and thyme. Get tips for a gentle rise, well-spaced toppings, and warm slices to share.
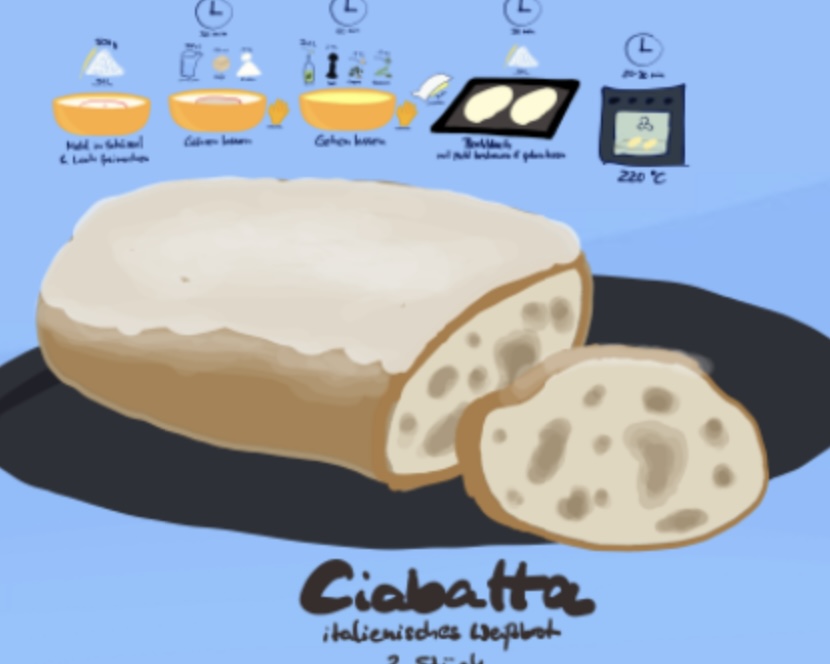
Ciabatta Bread
Bake ciabatta with oregano, dried rosemary and olive oil. Learn how gentle folding and shaping help a sticky dough become a crisp loaf with an airy center.
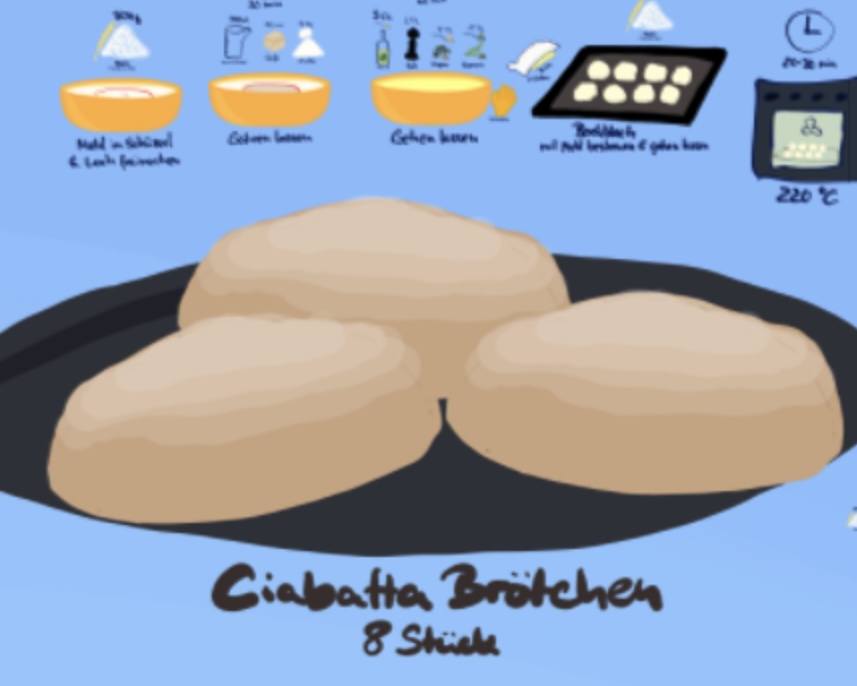
Ciabatta Rolls
Bake ciabatta rolls with oregano and rosemary. Fold sticky dough, gently divide it into rectangles and serve the crisp rolls with savory fillings.
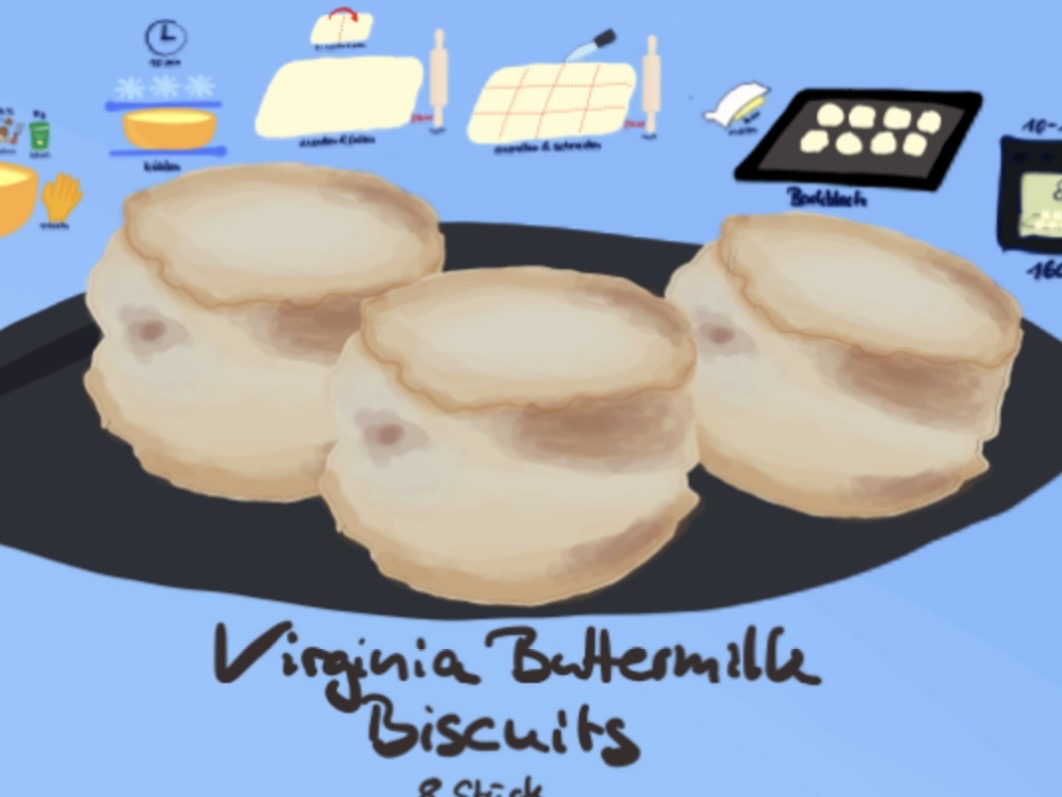
Virginia Buttermilk Biscuits
Bake tender buttermilk biscuits with cold butter, cinnamon and nutmeg. Find gentle shaping tips and ideas for serving them warm with butter or fruit preserves.
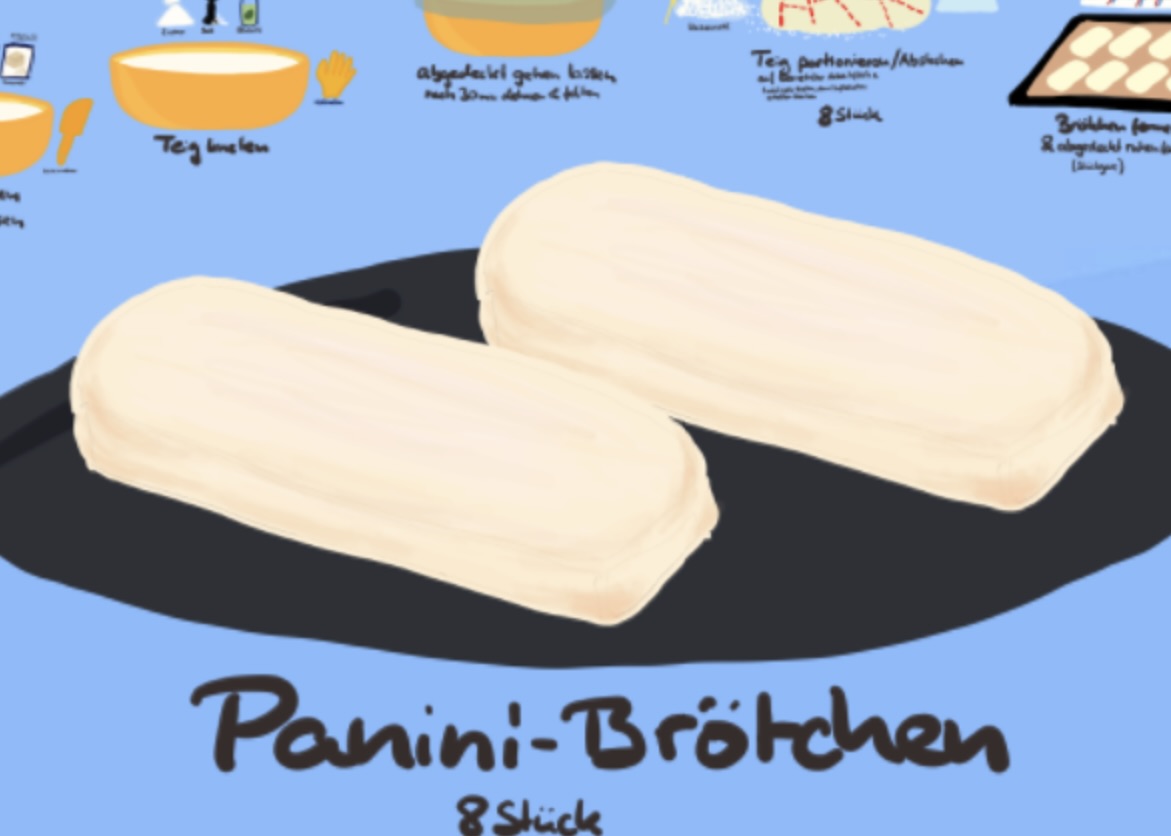
Panini Bread
Bake panini bread with a tender crumb and golden crust. Learn how to judge the rise, shape even rolls, and keep pressed sandwiches from turning soggy.
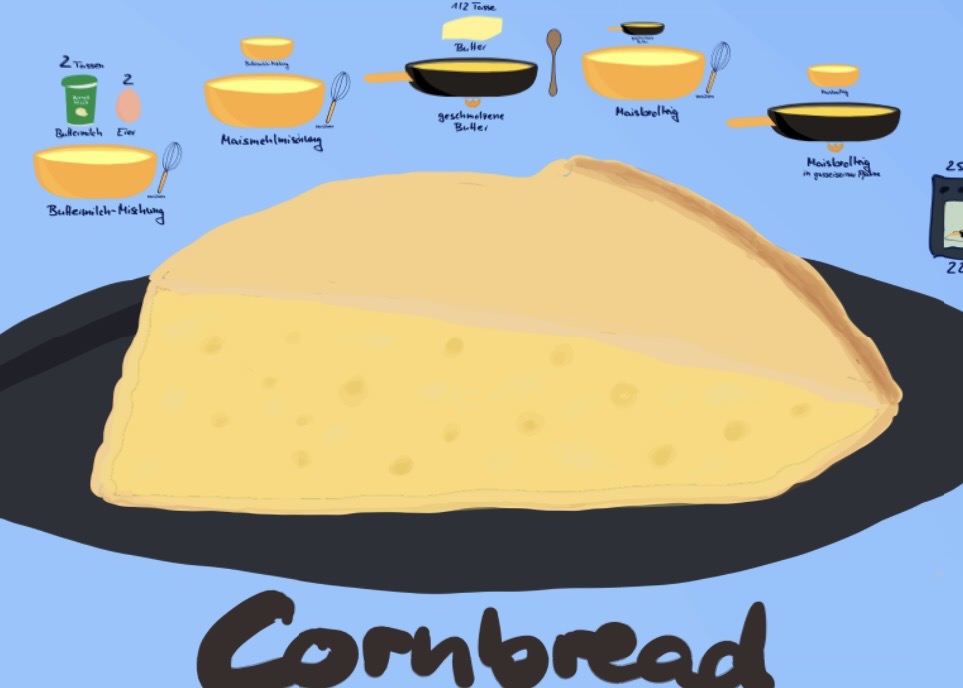
Cornbread
Bake golden cornbread with cornmeal, buttermilk and butter. Get tips for gentle mixing, checking the center and serving it with pulled pork or beans.
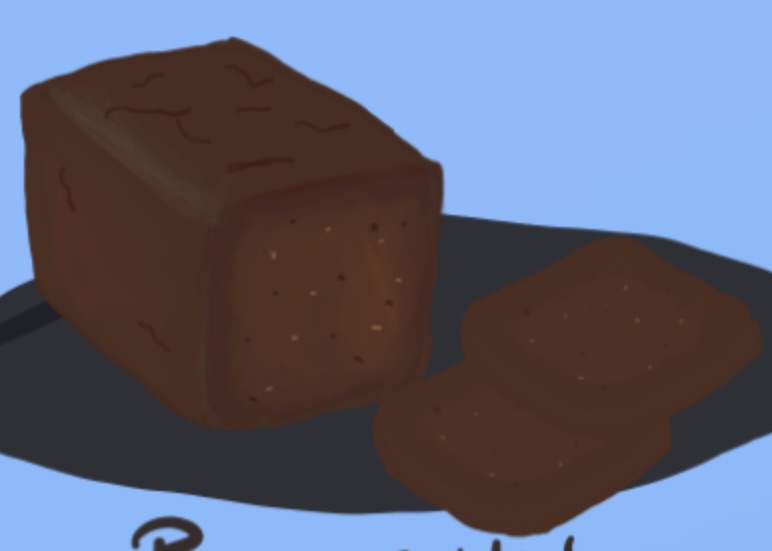
Pumpernickel
Explore pumpernickel’s dense rye crumb, gentle baking, and full cooling. Find practical slicing tips and toppings that suit its deep grain flavor.
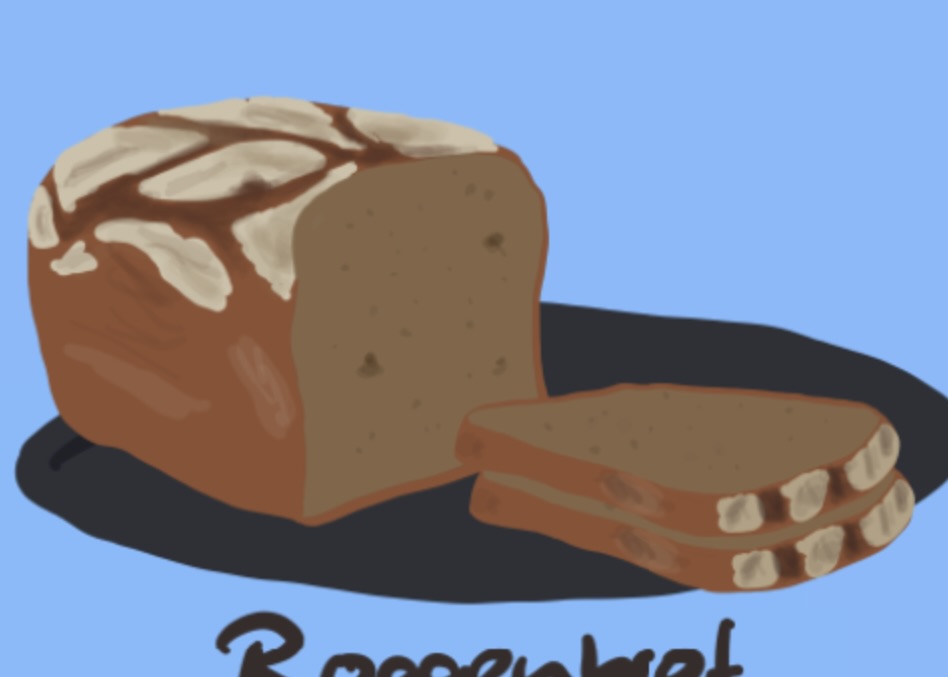
Rye bread
Get to know rye bread’s hearty flavor and moist crumb, with useful guidance on dough texture, cooling, neat slicing and savory toppings for everyday meals.
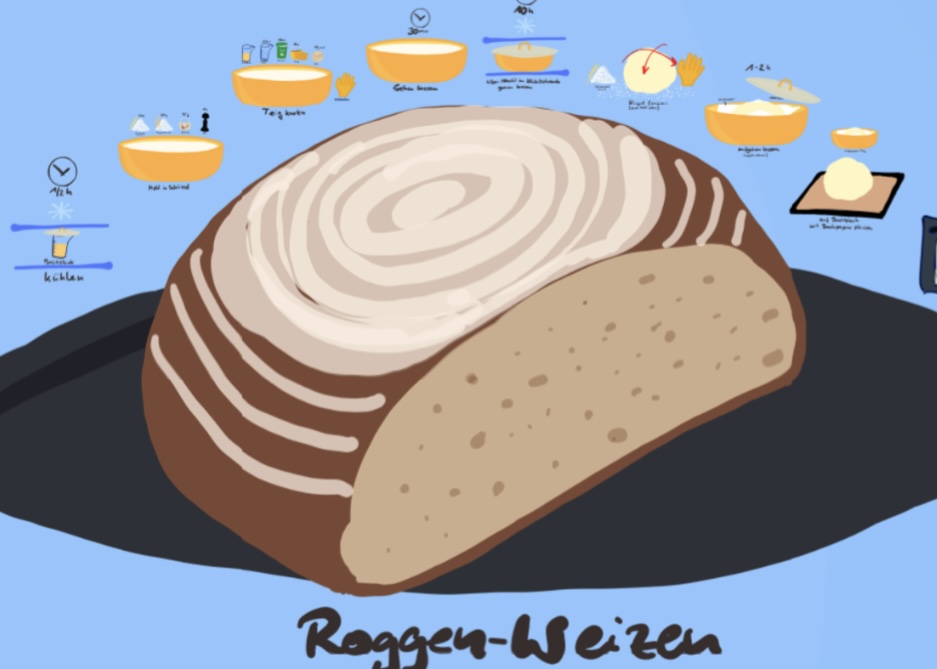
Mixed Rye Bread with Whole Grain Rye
Explore mixed rye bread with whole grain rye, wheat flour, sourdough, and buttermilk. Learn about sticky dough, cooling, and toppings for hearty slices.
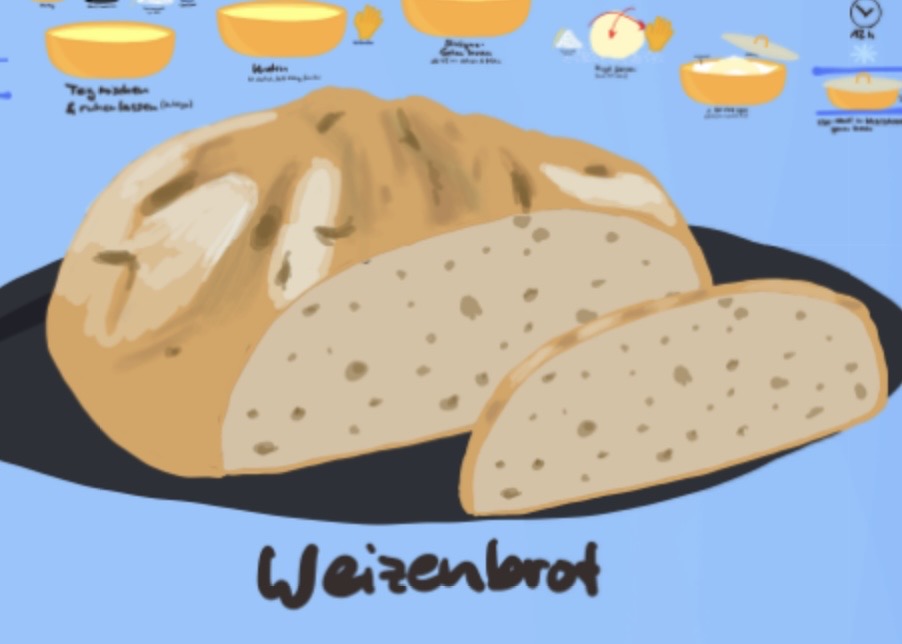
Wheat bread
Bake a mild wheat bread with Type 812 flour and durum semolina. Learn what to look for when kneading, letting the dough rise, shaping and slicing the loaf.
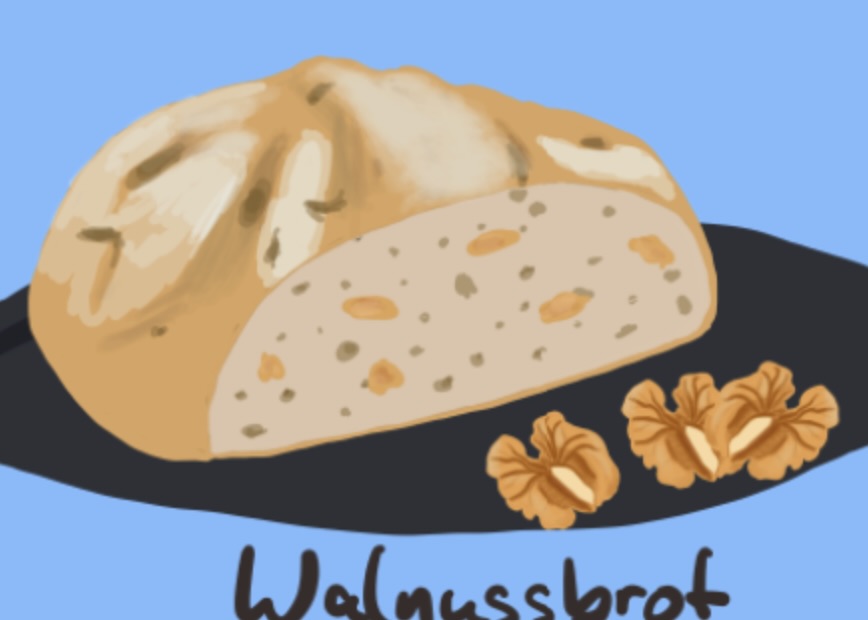
Walnut bread
Bake walnut bread with lightly toasted nuts and a tender crumb. Learn when to add the walnuts, how to slice the loaf and what to serve with each nutty piece.
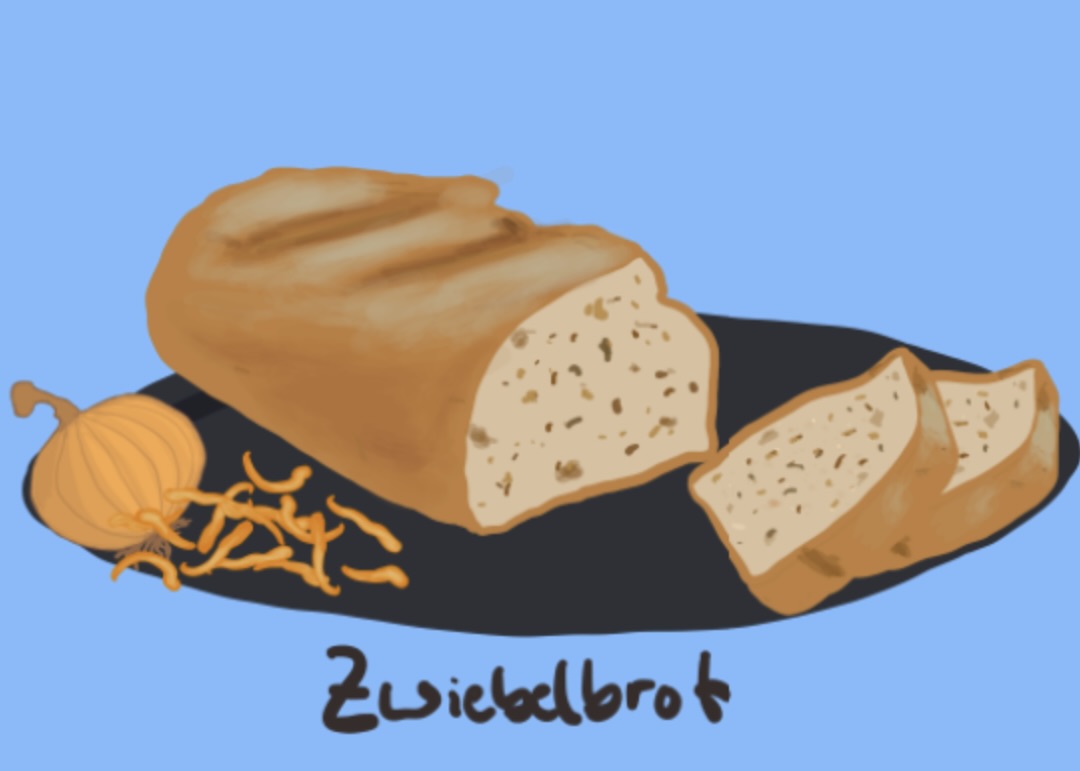
Onion bread
Bake onion bread with soft caramelized onions and a golden crust. Find tips for cooling the onions, folding them into dough and serving savory slices.
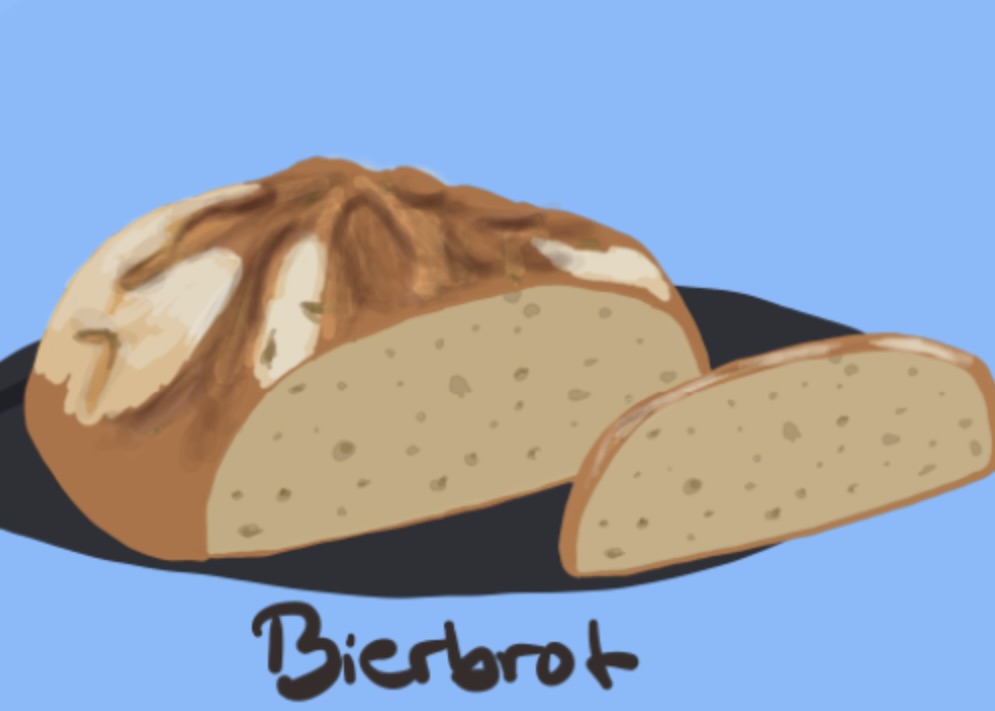
Beer bread
Stir up beer bread with baking powder and a melted-butter topping. Learn how to mix the batter briefly, choose the beer and bake a tender savory loaf.
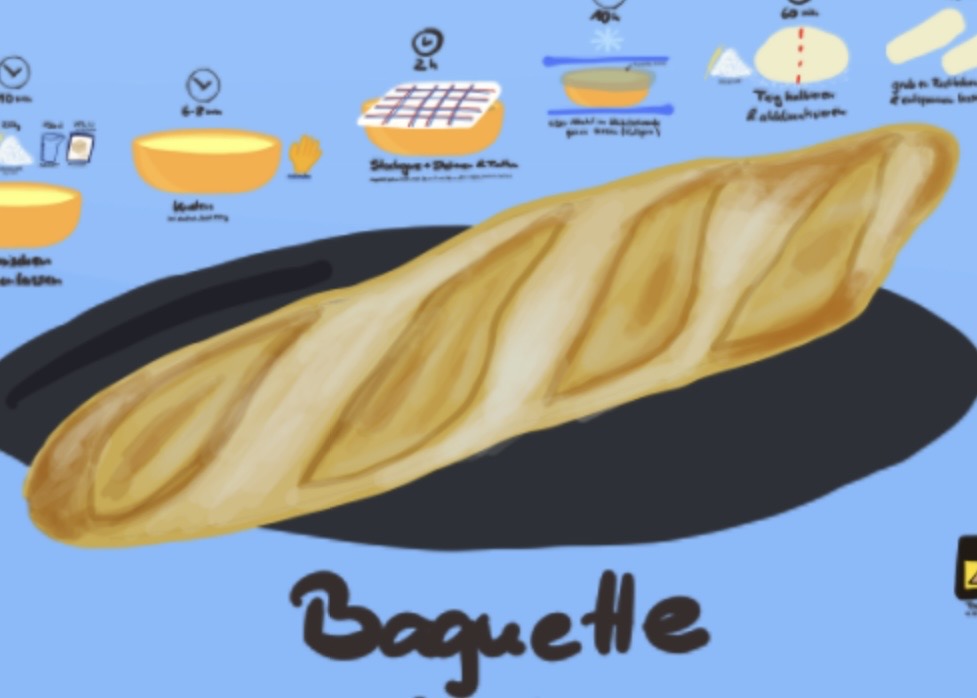
Baguette
Bake baguettes with a crisp crust and tender center. Find practical advice for shaping long loaves, scoring safely and using steam as your oven permits.
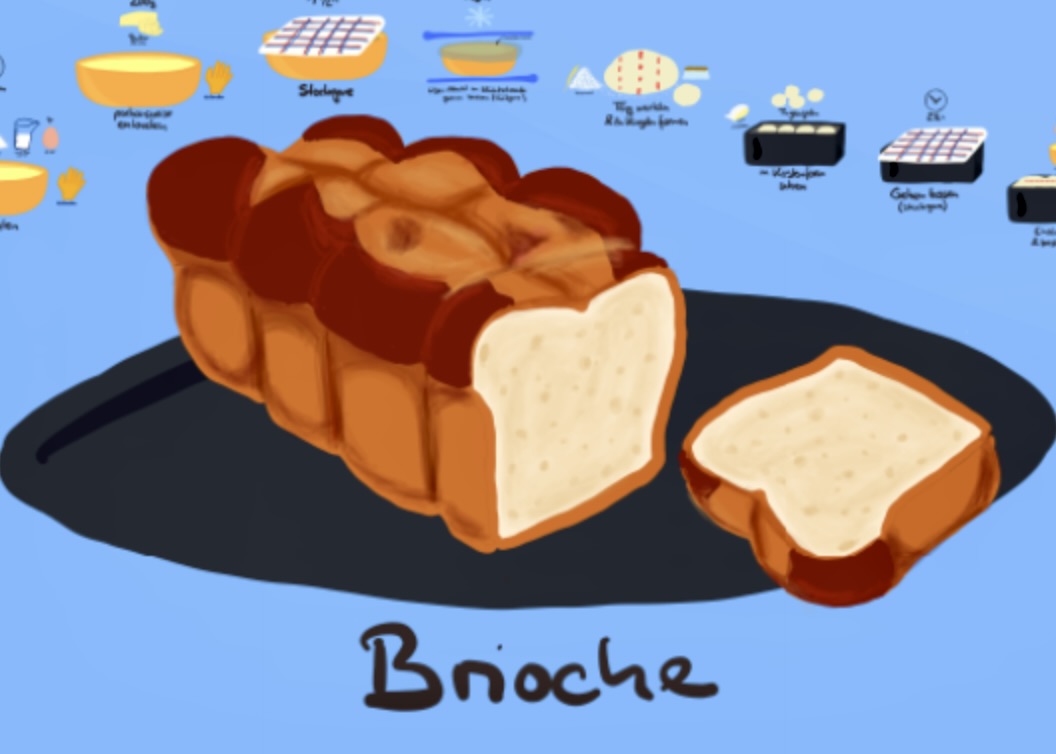
Brioche
Explore buttery brioche with eggs and milk. Learn to recognize a smooth dough and a puffy rise, check the bake, and choose sweet or savory toppings.
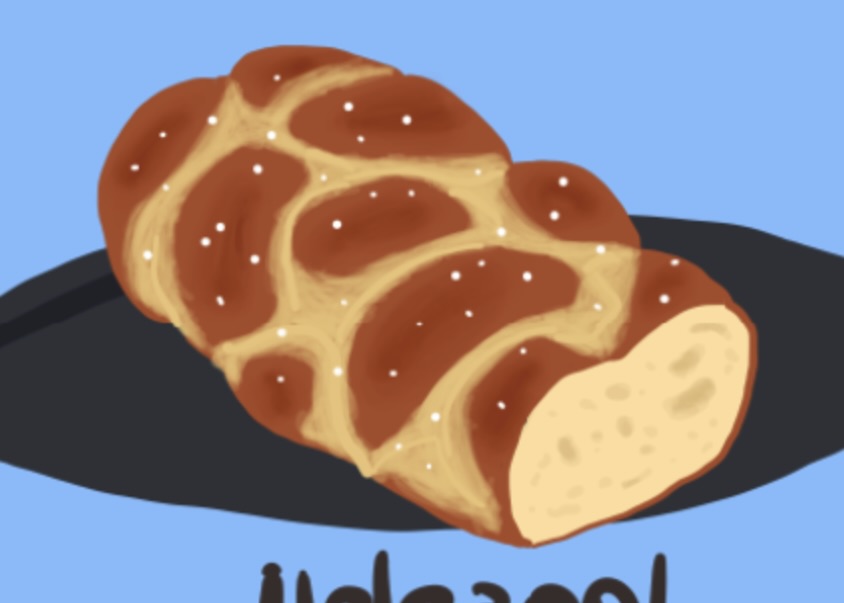
German Braided Sweet Bread
Bake a tender Hefezopf with a golden braid. Learn how to develop the dough, braid without pulling, judge the rise, and keep the center fully baked.

Bagels
Shape, briefly boil and bake bagels with a golden crust and a chewy center. Find practical tips for sealed rings, neat slicing and fresh breakfast toppings.